 Sign up with Google
How to Make a Slideshow Playbook
Build a slideshow playbook that creators can post from.
A slideshow playbook gives creators everything they need to post image slideshows for your brand: the slides, the text on them, hashtags, and captions. Noise assembles a unique post for each creator by picking one image and one caption per slide from your options. Slideshow campaigns are open to all creators, which makes them the highest-volume format on Noise.
Need inspiration before you build? See Slideshow Content Ideas.
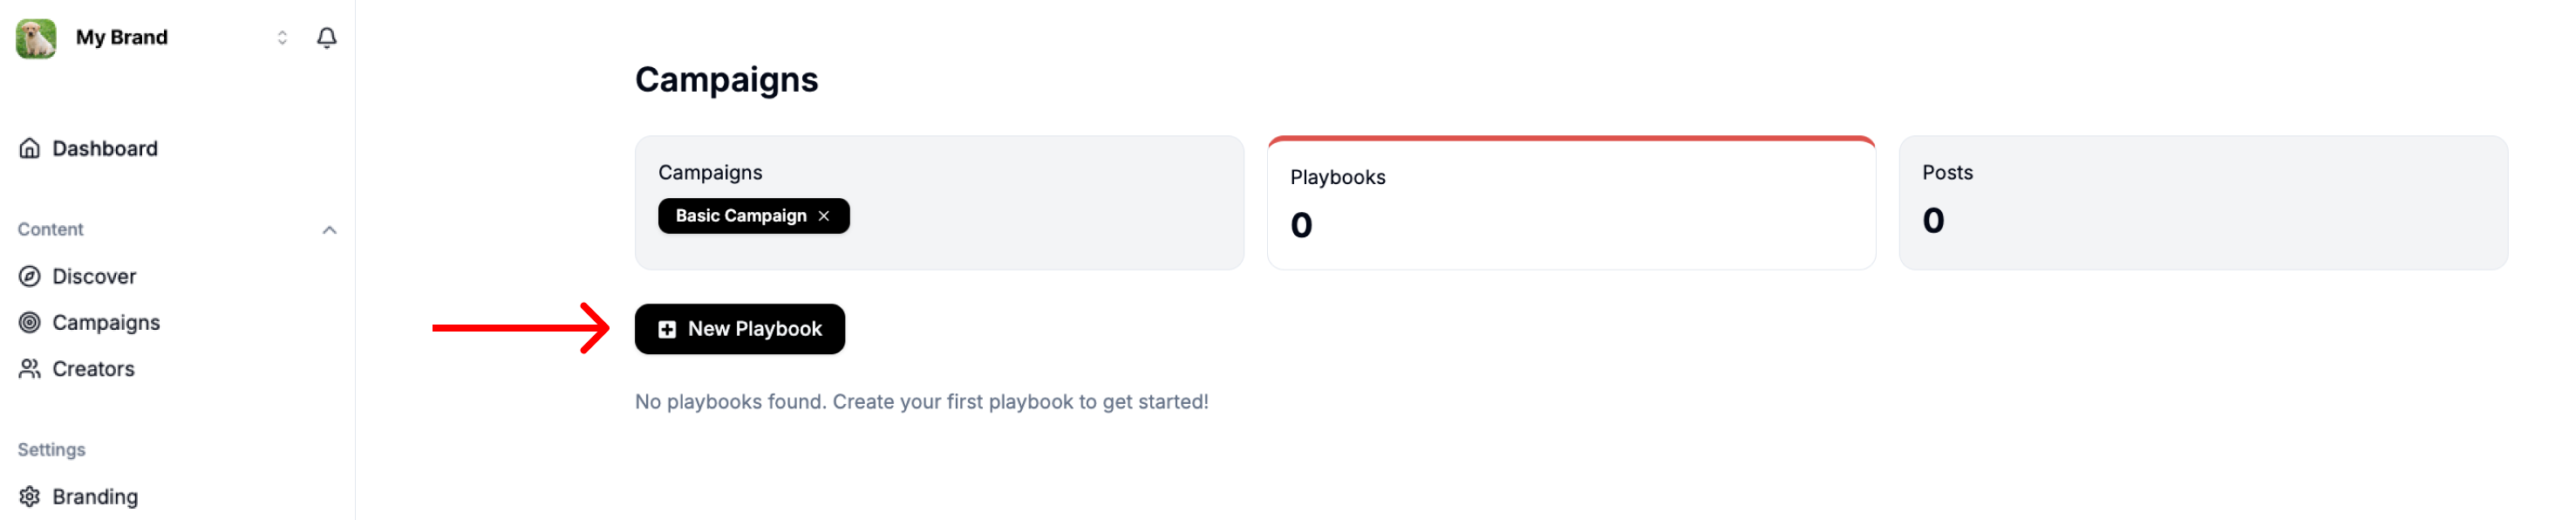
Step 1: Open your campaign
Click into the campaign this playbook belongs to, then click + New Playbook.
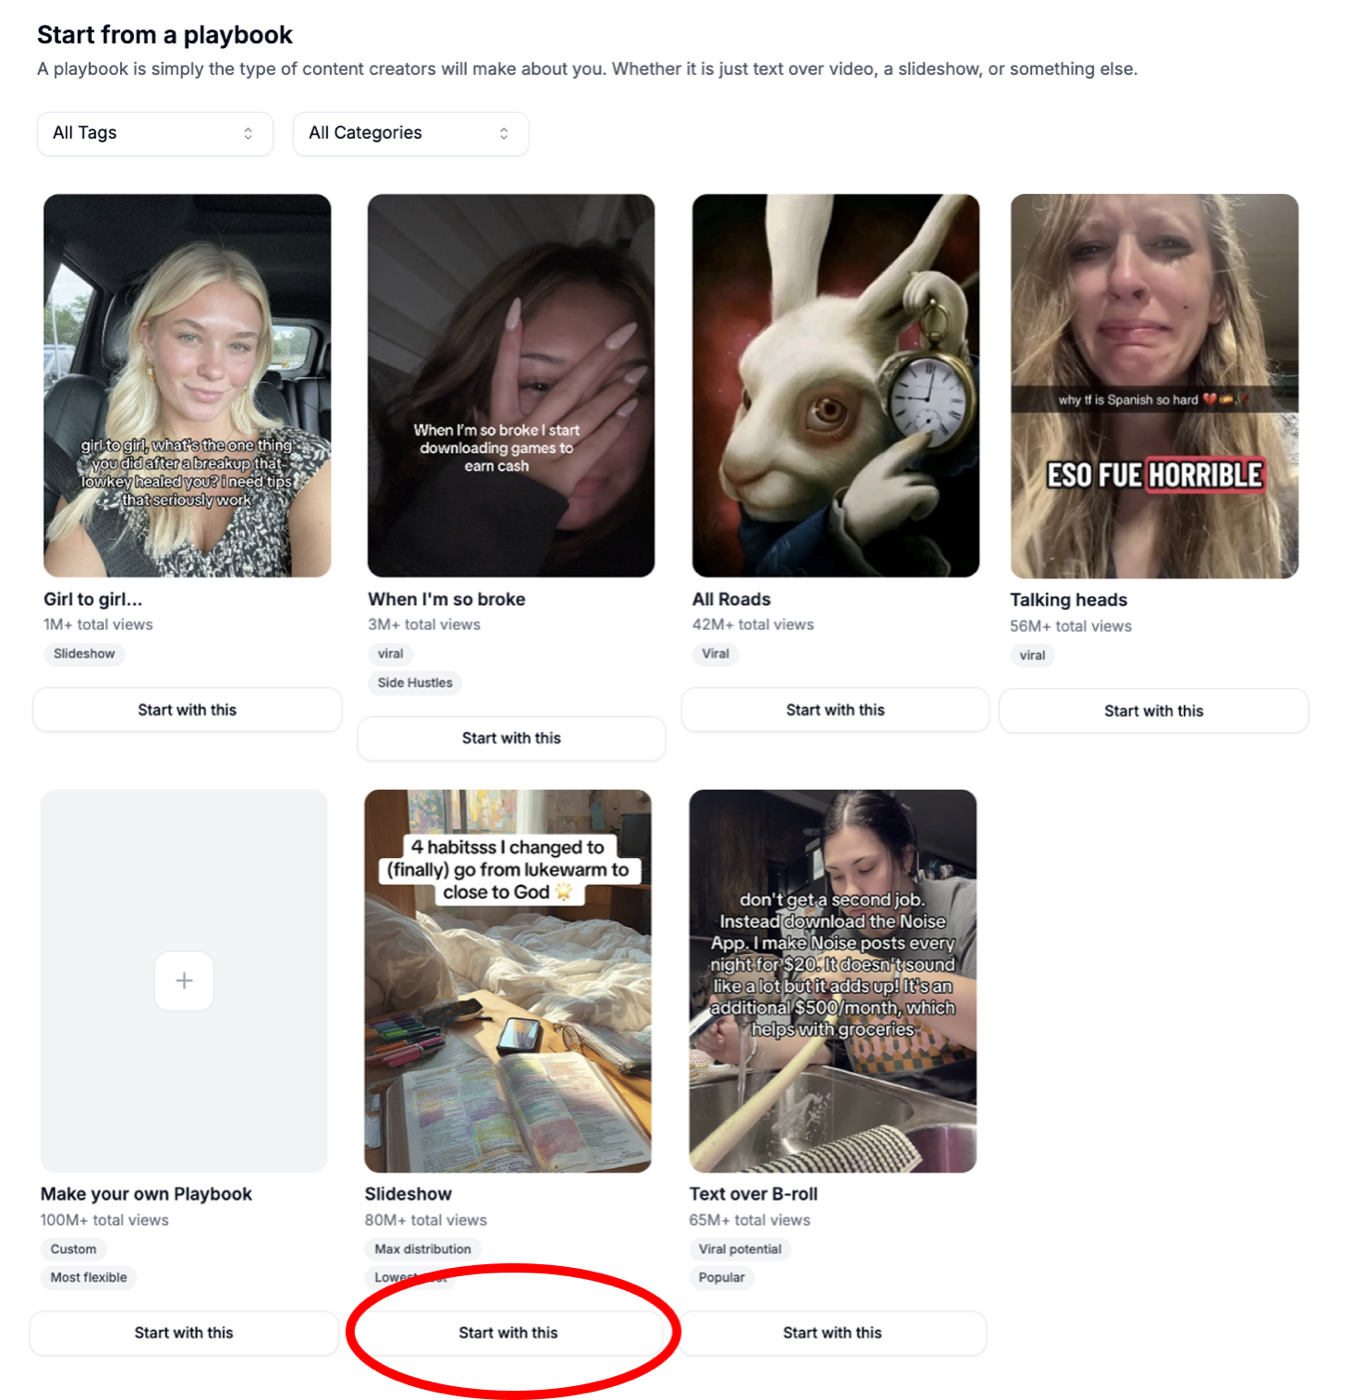
Step 2: Choose a starting template
Noise has premade template structures. Click Start with This under the Slideshow example.
Step 3: Enter the builder
Rename your playbook and start building it.
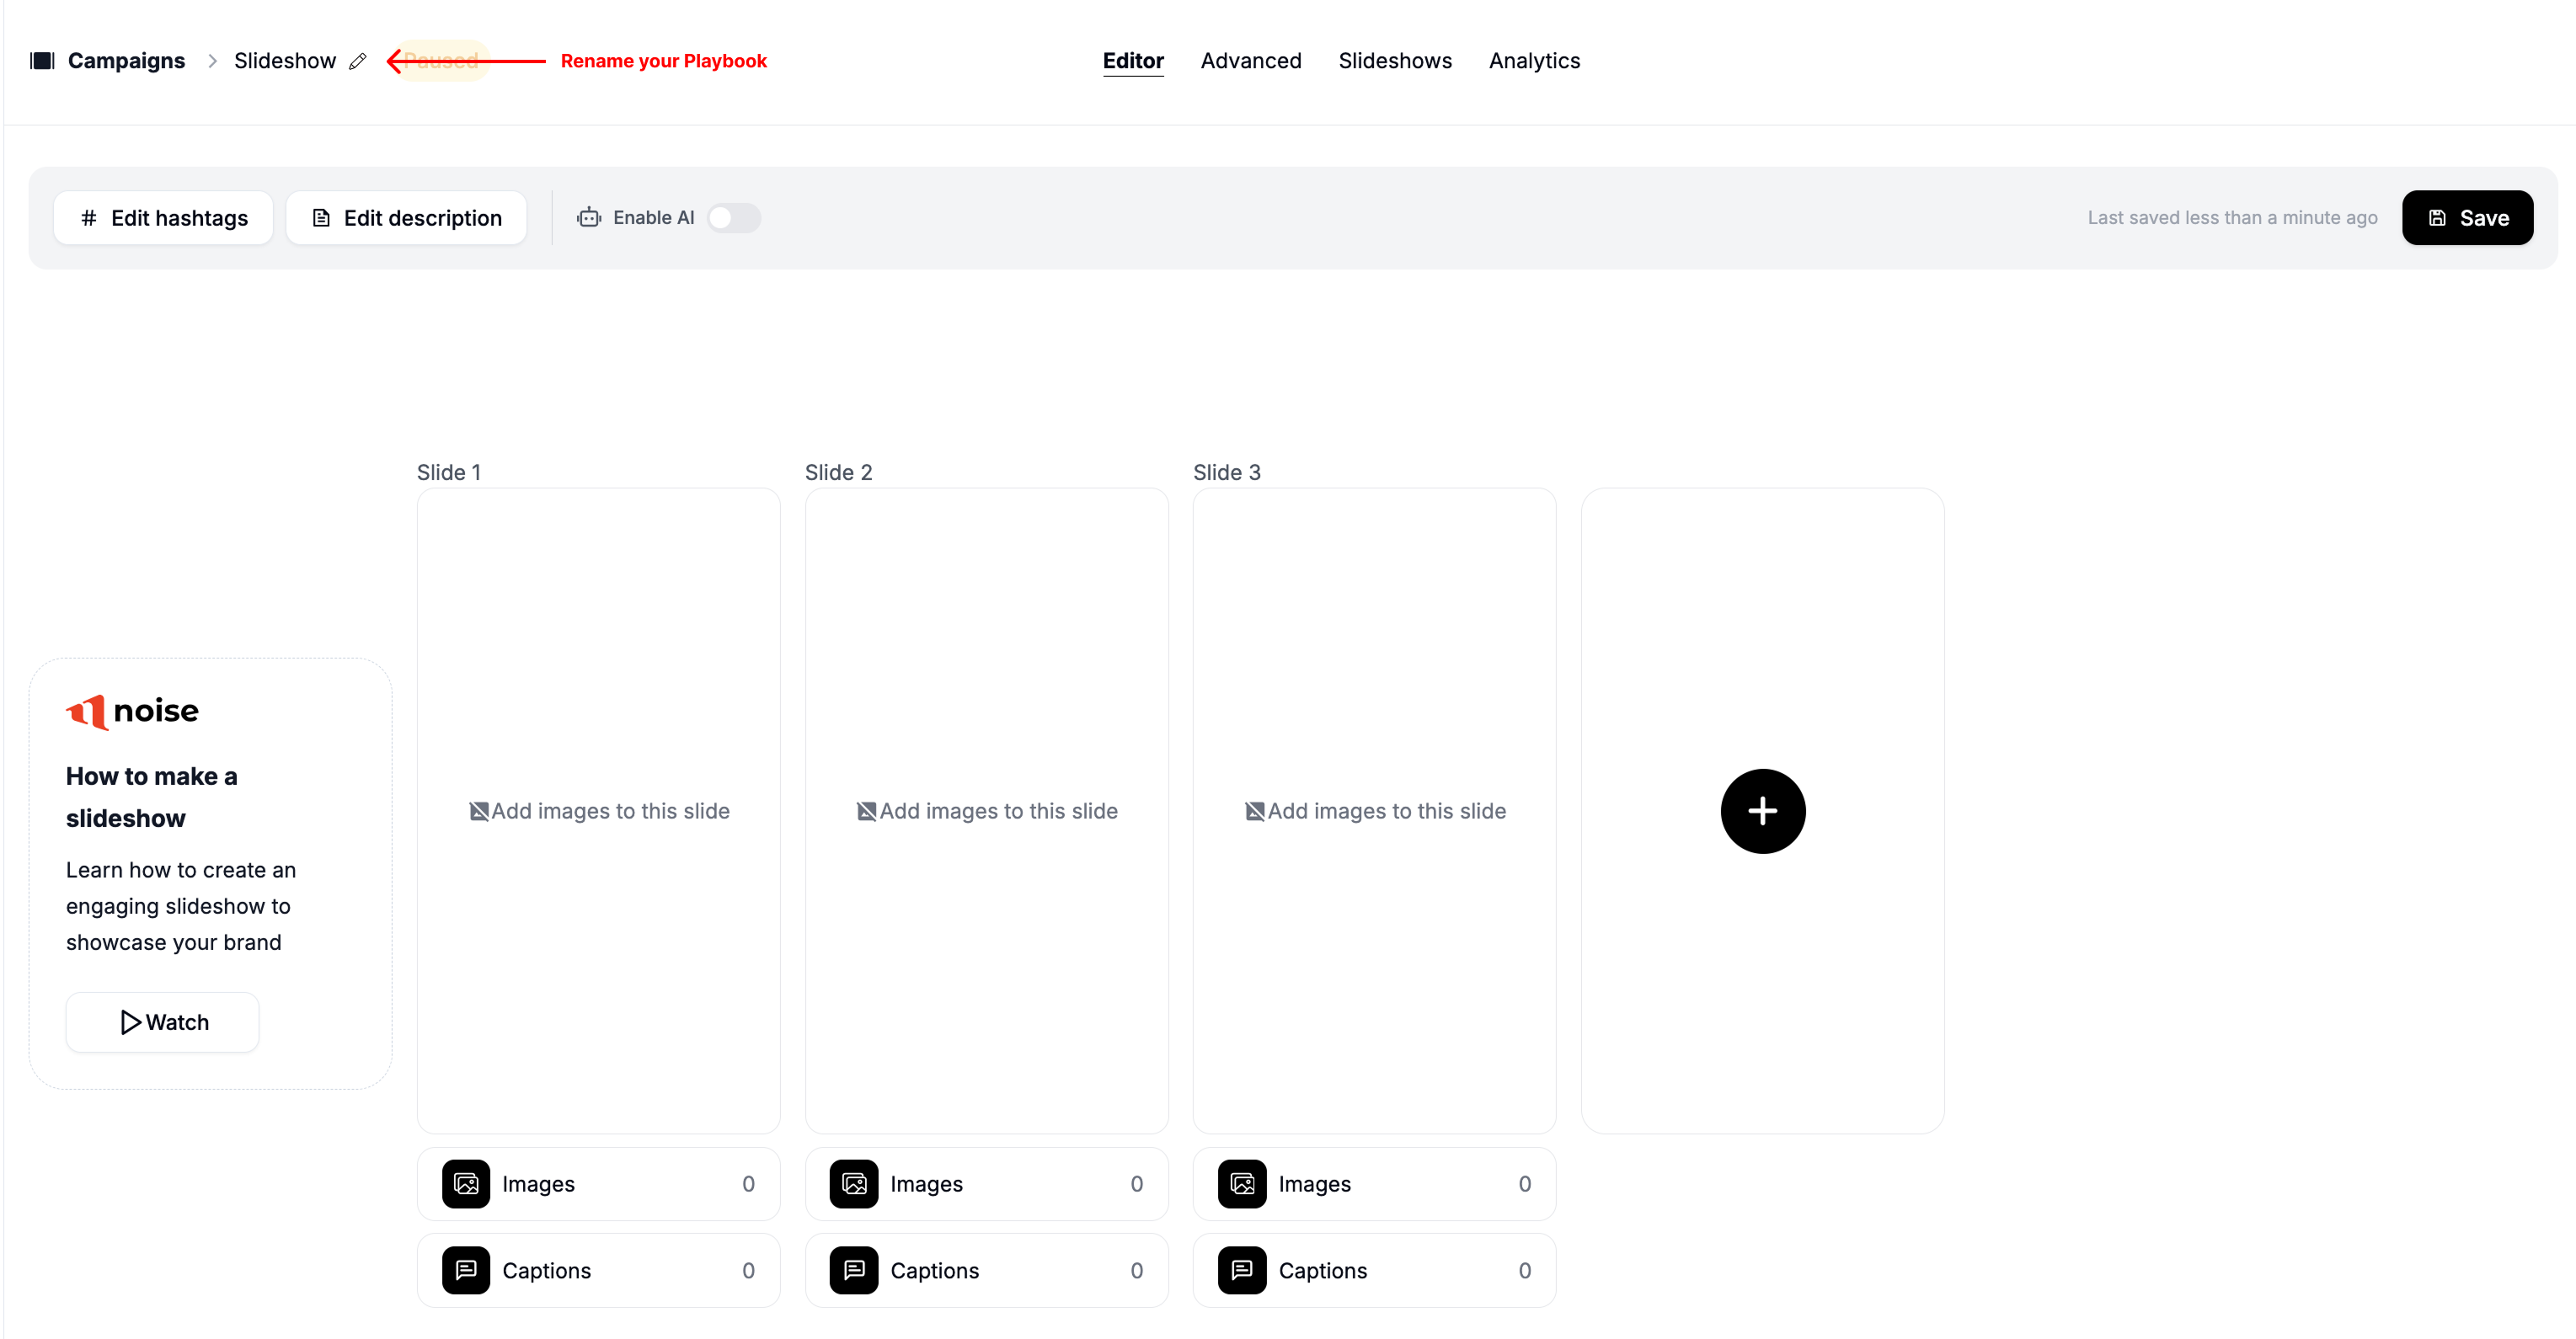
Step 4: Build your slides
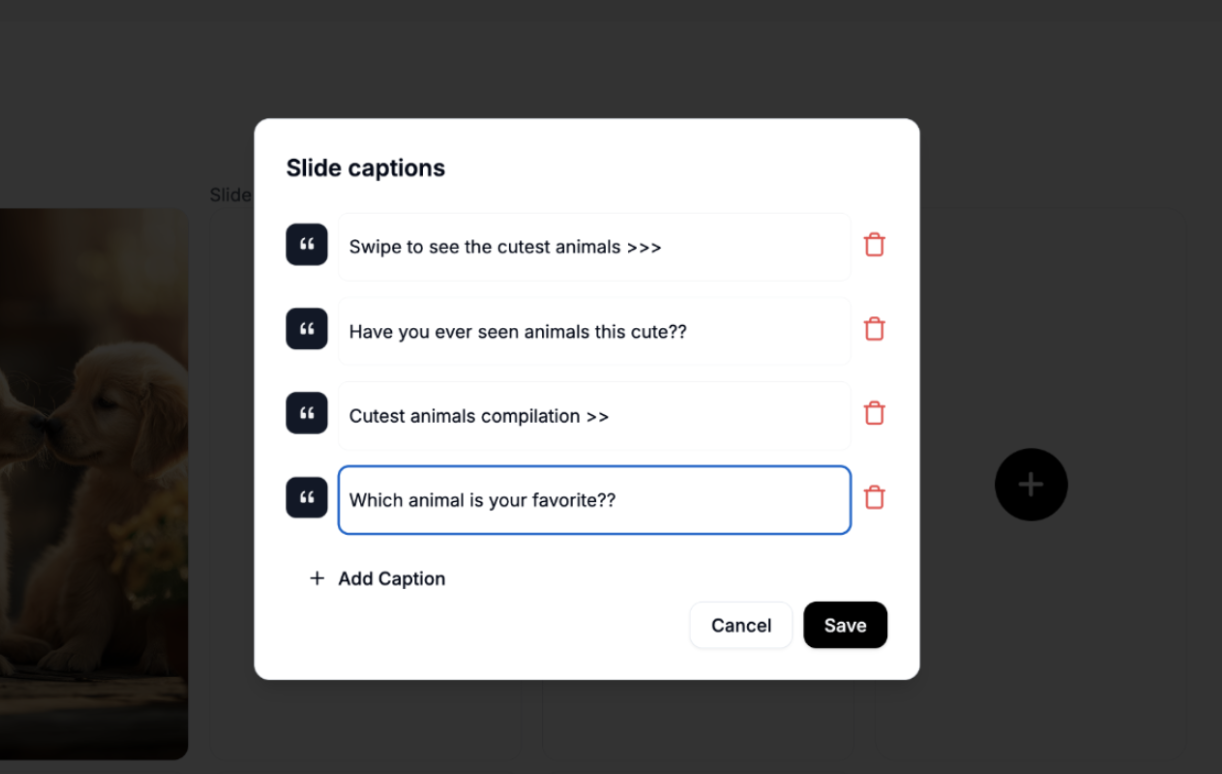
Each card in the editor is one slide of the slideshow, in order. For every slide you provide a set of images and a set of text options ("captions") to go on top of them; Noise picks one image and one caption at random per slide for each post.
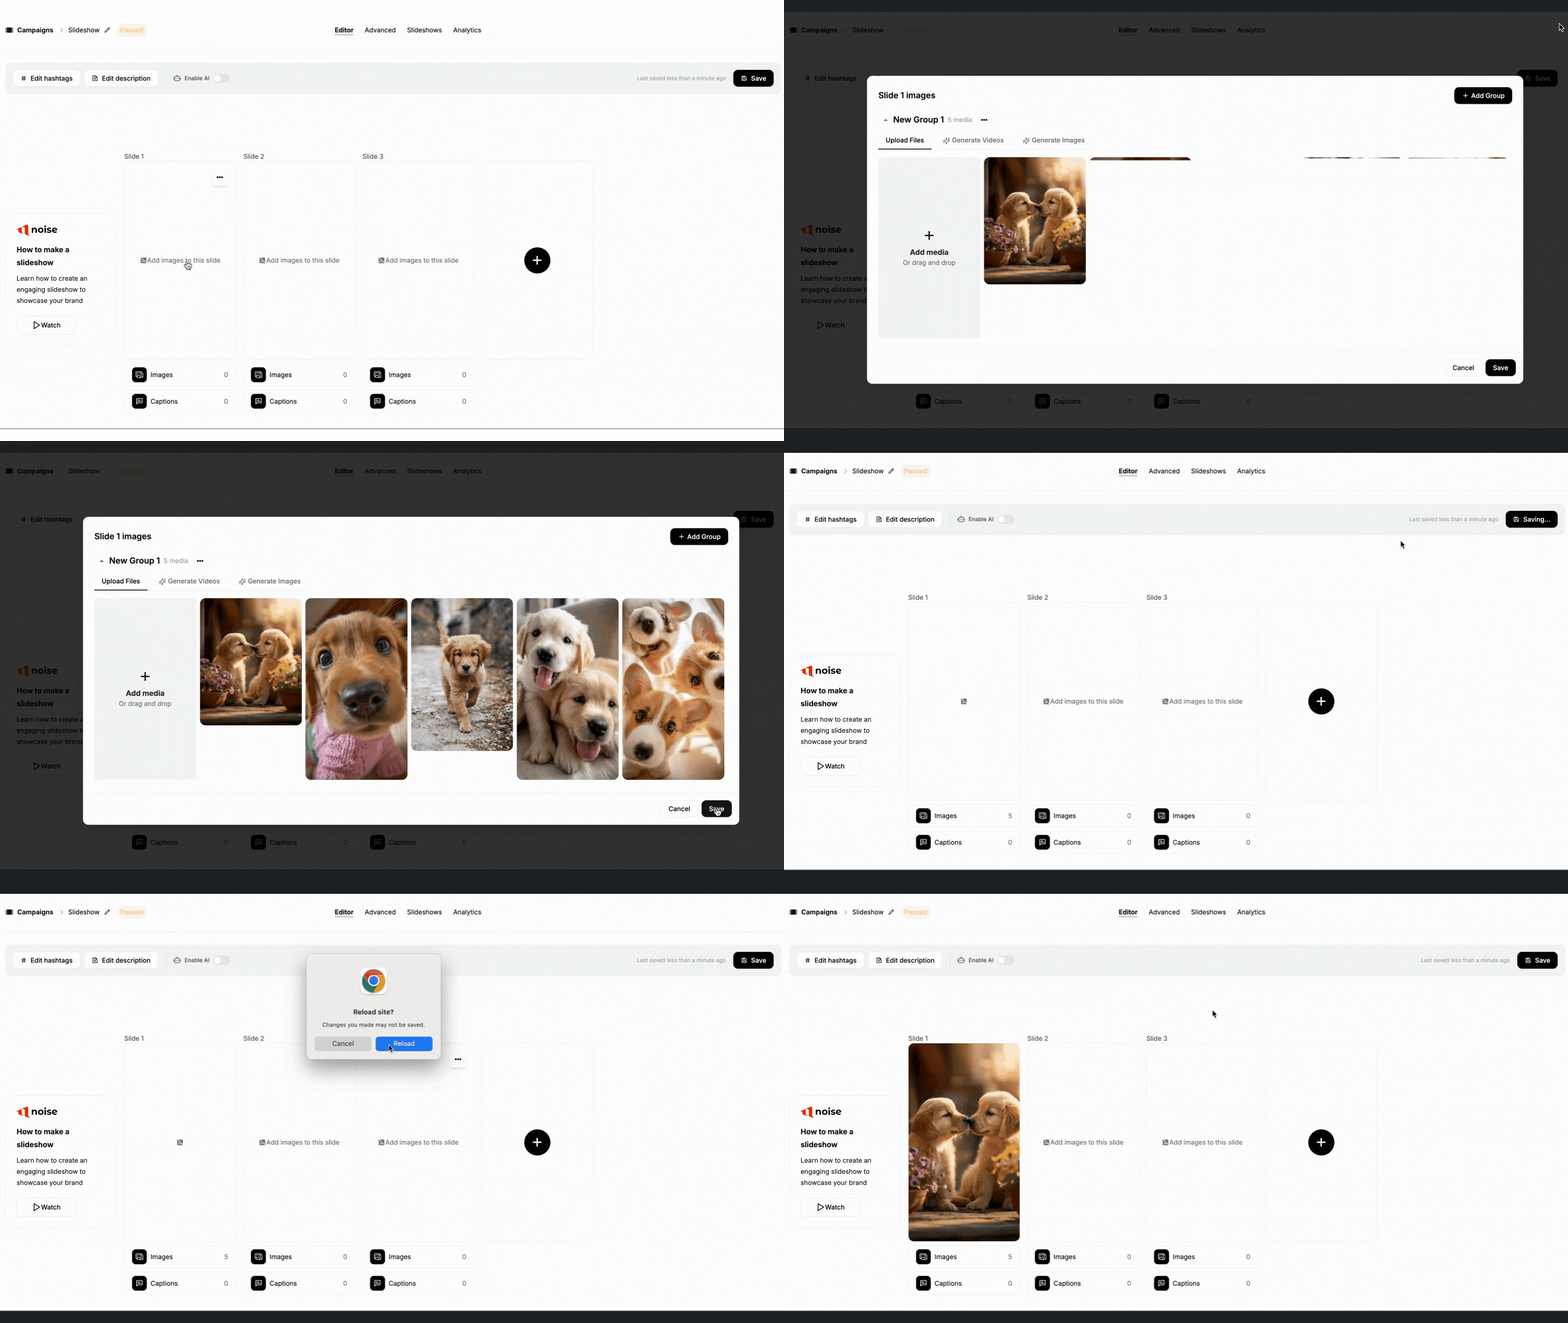
Upload images: on a slide card, click + Add images to this slide to open the image importer. Click Create a New Media Group, add your images for that slide, and save. If you are prompted to activate the playbook while saving, keep it inactive until you are done building.
Add captions: click the Captions button under the slide and add a variety of text options.
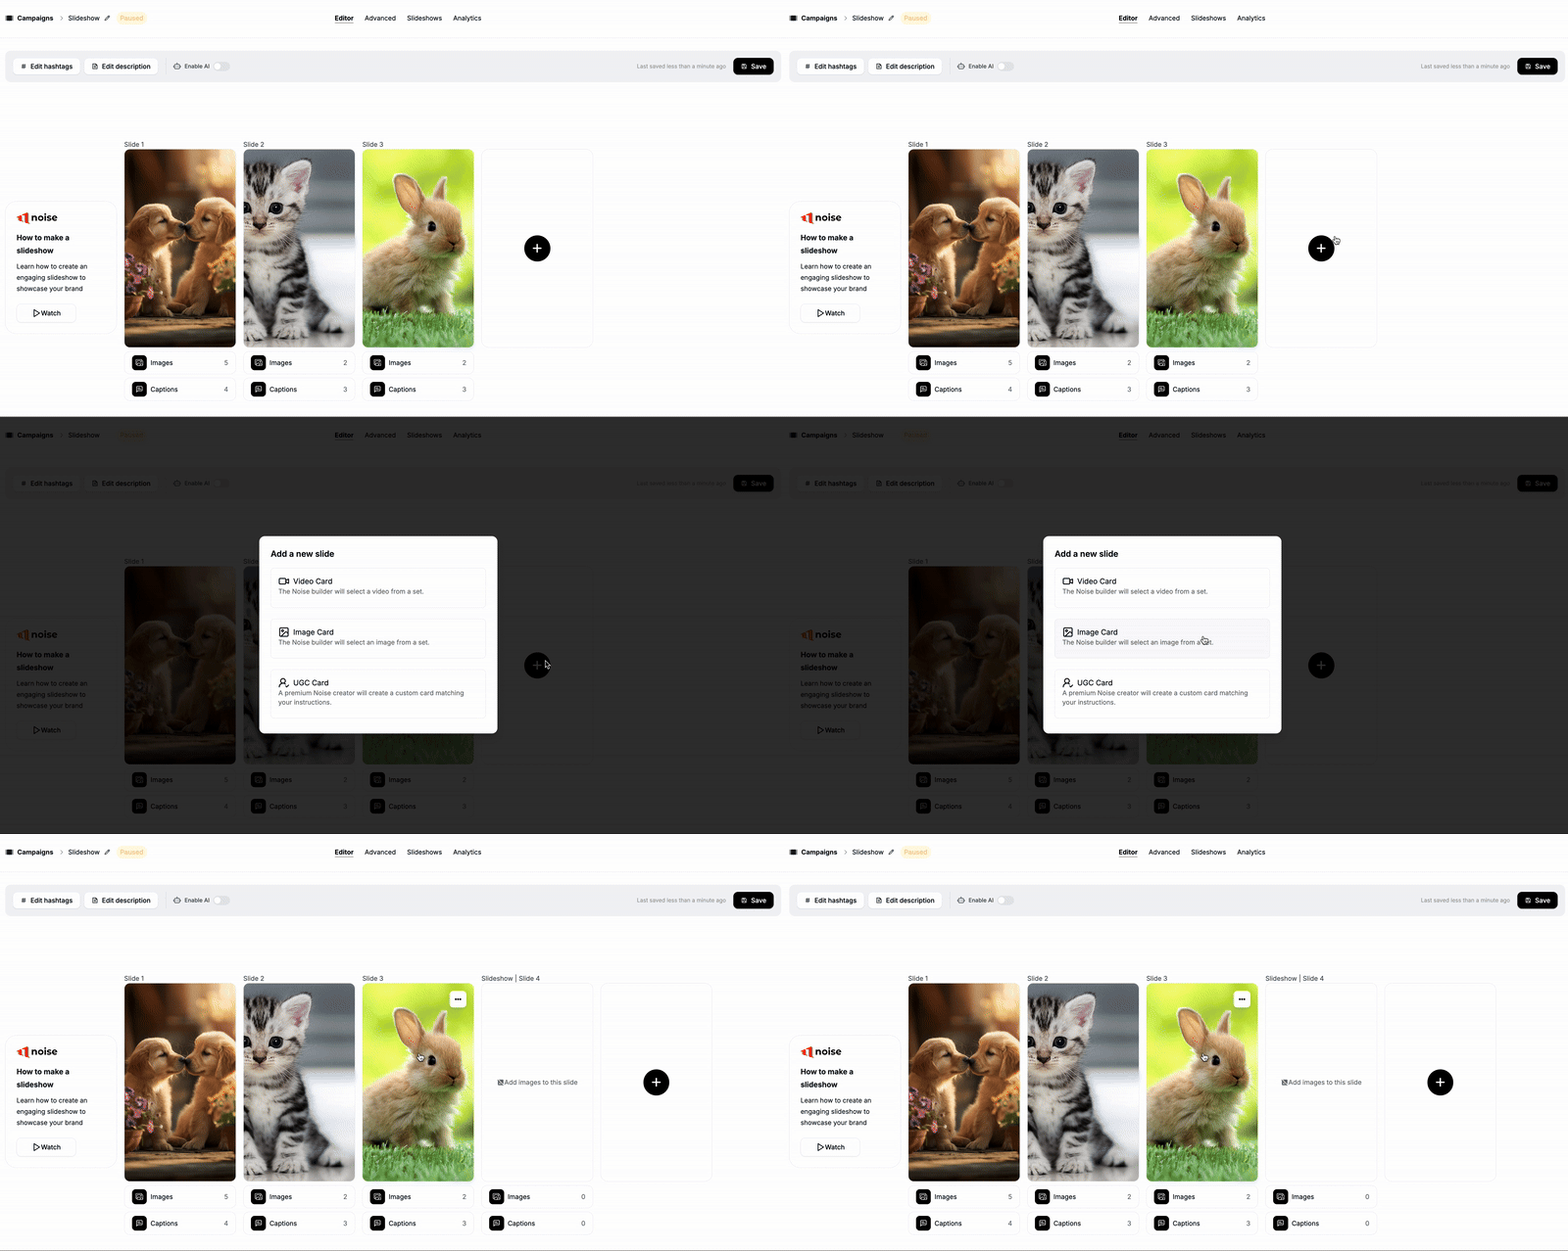
Step 5: Add more slides
Click the card with the + sign and choose Image Card to add another slide to your slideshow.
Step 6: Add hashtags
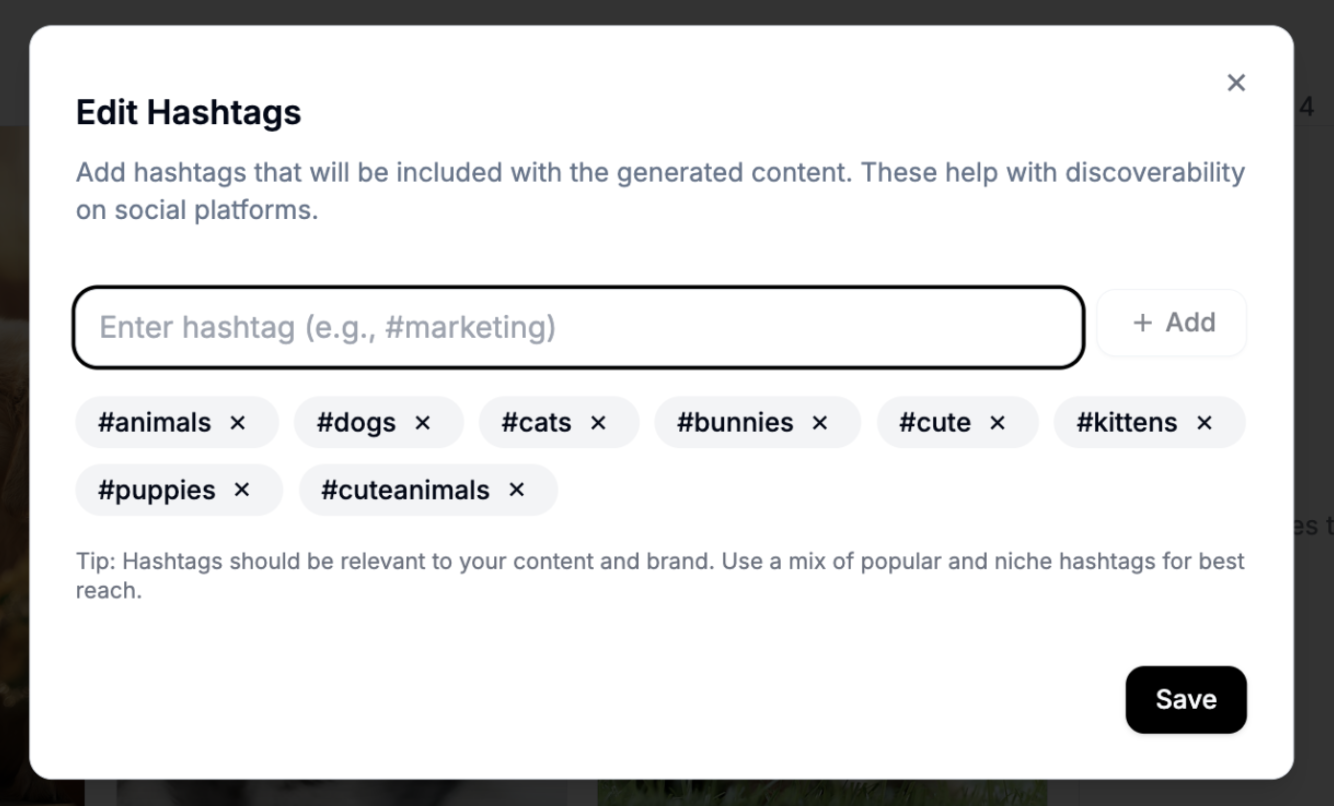
Click Edit Hashtags in the toolbar at the top and add relevant hashtags. Noise picks 2 or 3 from this list for each post (in addition to your campaign's primary hashtag).
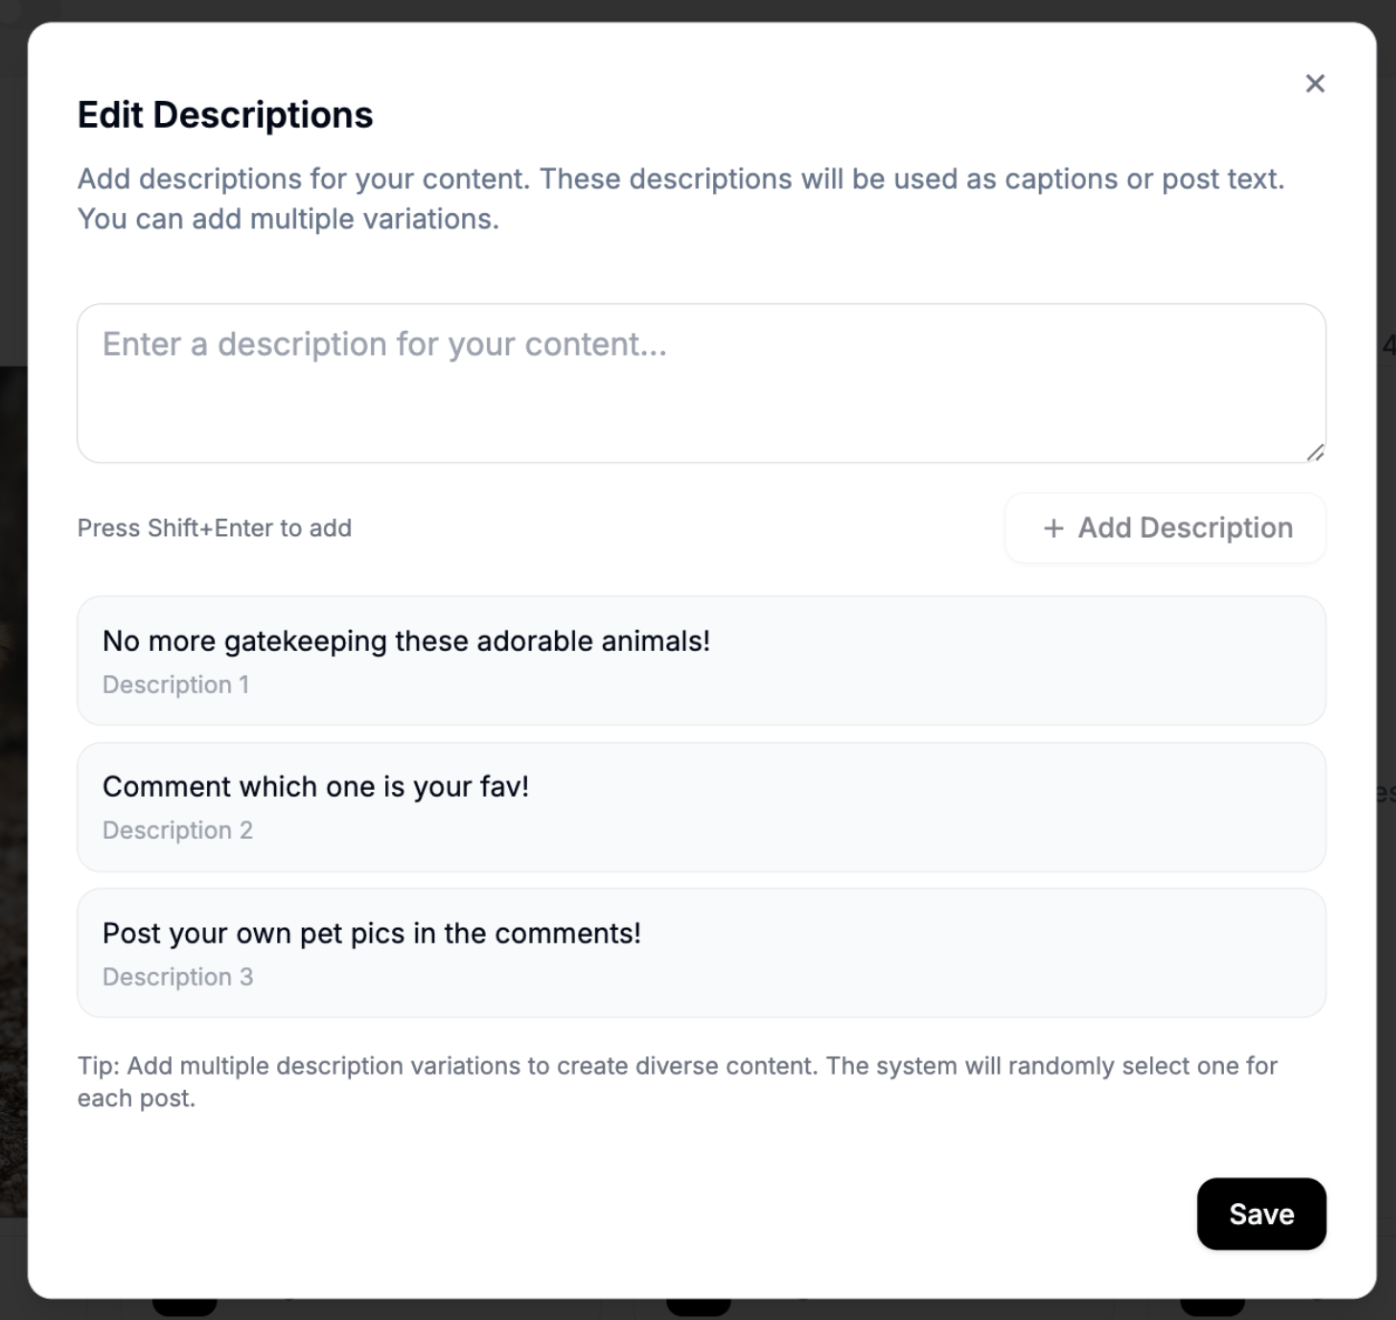
Step 7: Add post descriptions
Click Edit Description in the toolbar and add social media caption options for Noise to choose from. This is the text of the post itself, as opposed to the text on the slides.
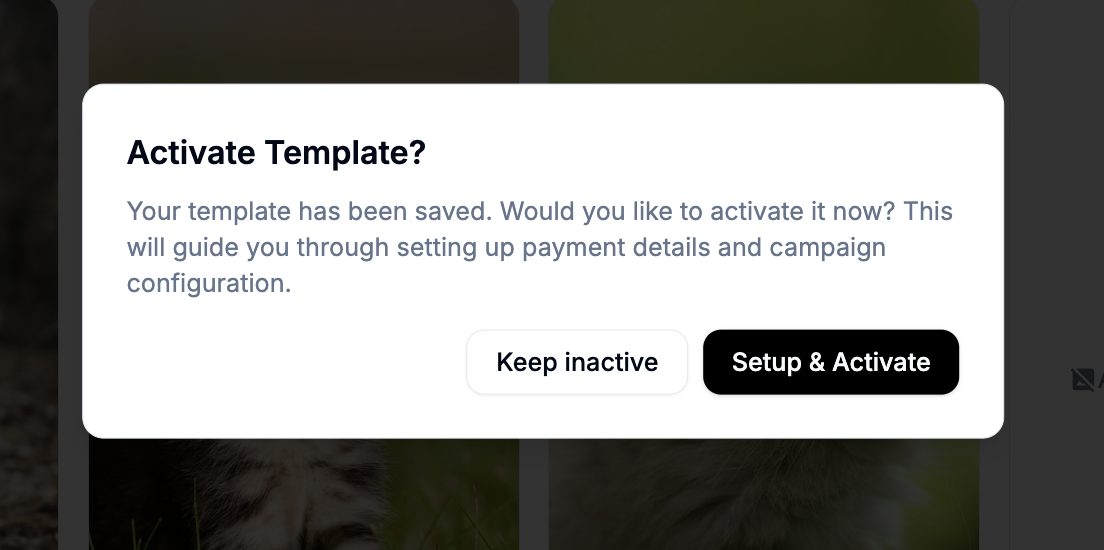
Step 8: Save and activate
Click Save in the editor and, when prompted, click Setup & Activate. Your playbook is now live.
FAQs
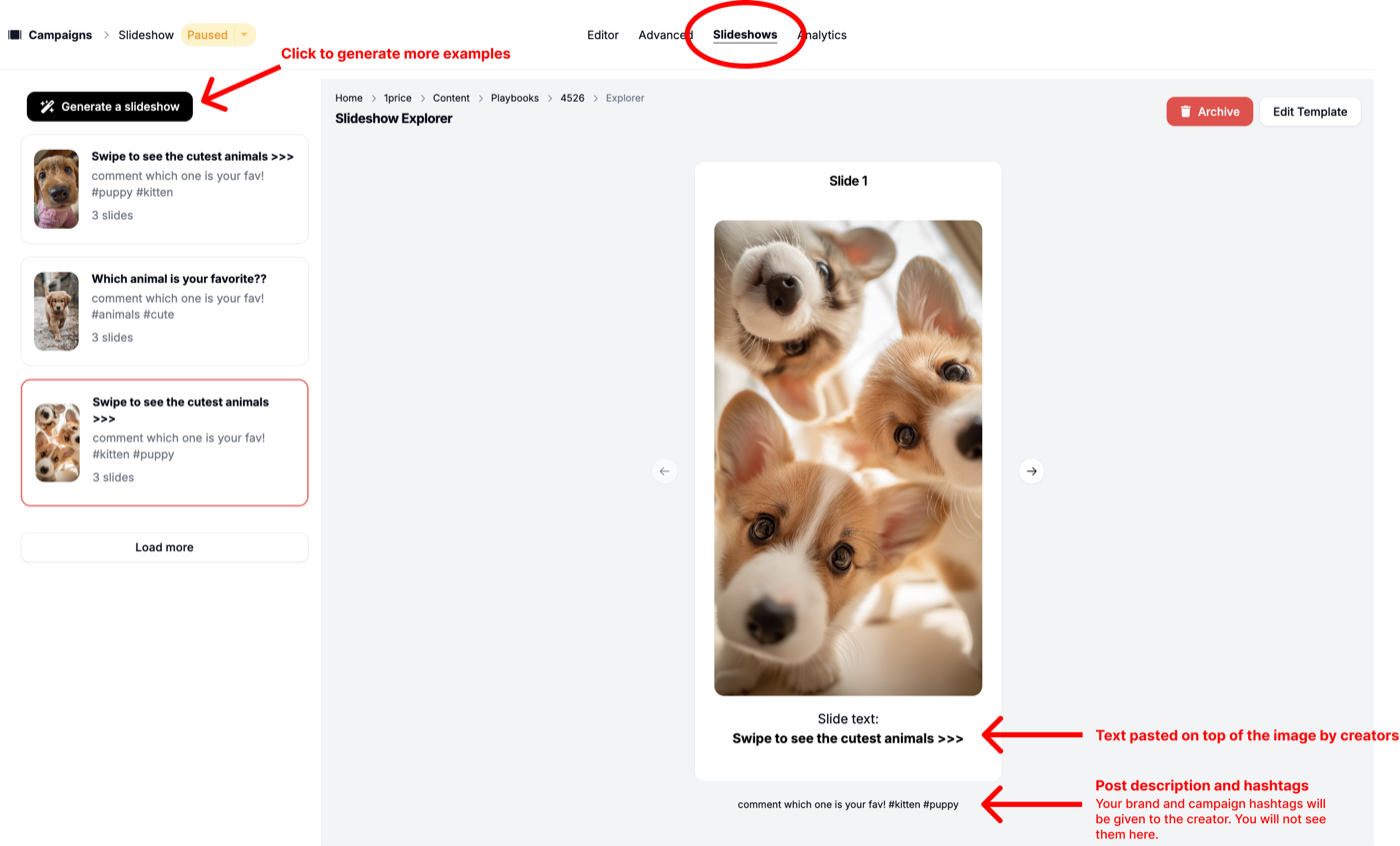
How can I preview my playbook?
In the editor, click the Slideshow tab at the top of the screen to preview what a post will look like. The bold text under each image is what creators will place directly onto the image.
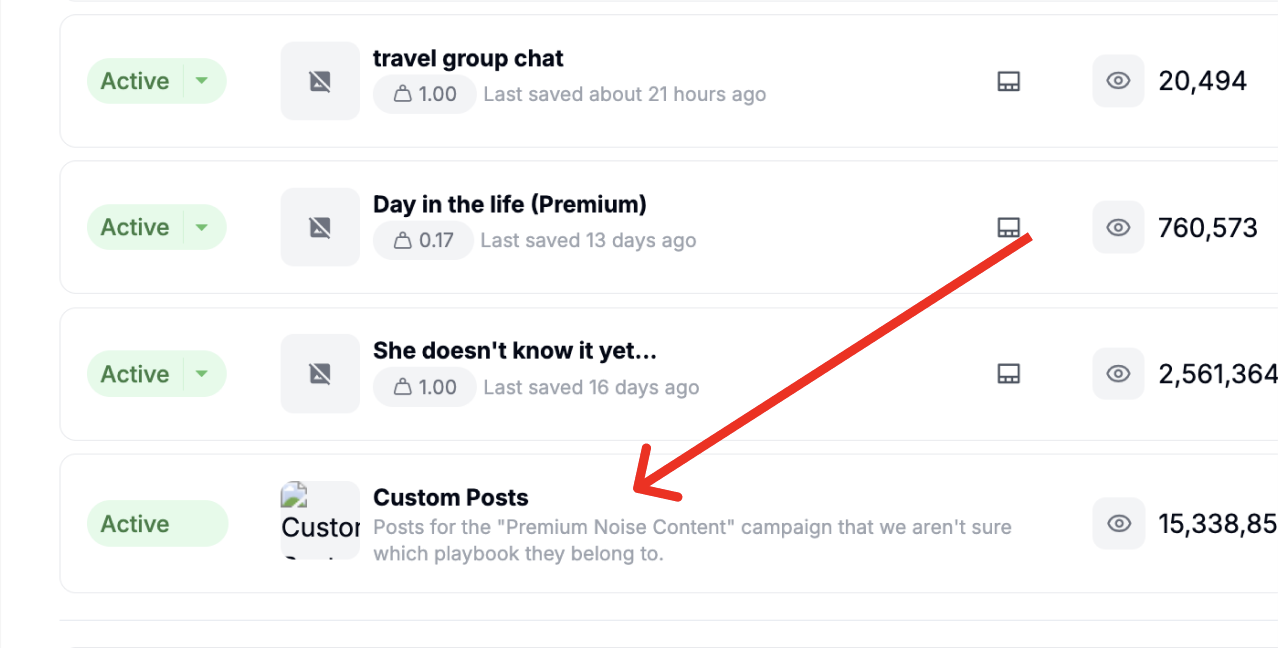
What is a Custom Post?
If a creator changes the caption in any way (an extra hashtag, even an accidental extra space), the post no longer exactly matches a playbook, so Noise uses other signals to deduce which campaign it belongs to. These posts are grouped under Custom Posts in your dashboard and reports.